 Loading... Please wait...


Recent Posts


- Home
- The Vape Mall Blog
- Keep Calm and Prime On!
Keep Calm and Prime On!
Posted by on
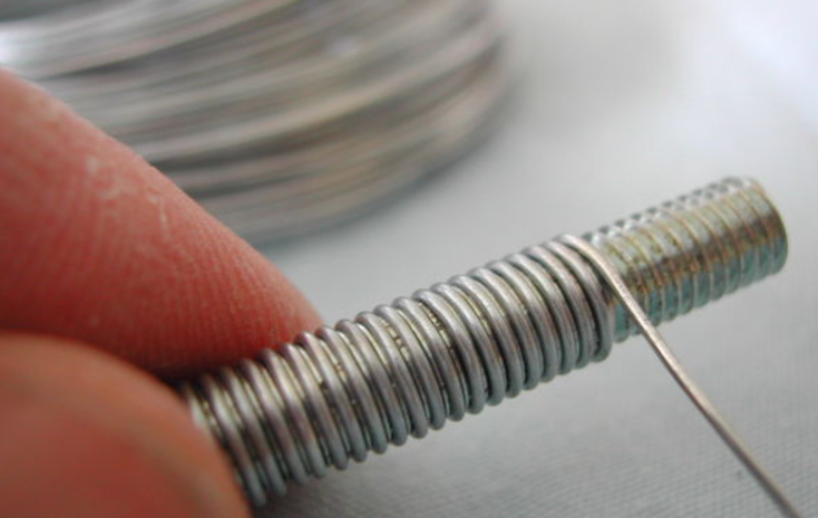
Whether you’re a newbie to vaping or a seasoned vaper, the process of priming remains the same. When we mention priming we are always talking about priming the coil. This is done by preparing both your heating element and wick that you will use to soak up your e-liquid prior to its use for vaping. There are a few reasons why it is important to prime your coils prior to use but we will explain the most important reason of why below as well as the proper way of priming your coils.
Dry Burning and How It's Caused
When you hear your fellow vapers mention "dry burning" you may
want to ask them what they are talking about. The reason why is because it is
the worst thing to happen if you don't properly prime your coils. Basically,
what happens is that when you vape the heated coil burns the dry wicking
material and you inhale the smoke from the burning material. Pretty much when
this happens your entire vaping experience is over, and you are left with a
nasty taste in your mouth and ruined coils. Not only that but smoke is the
opposite goal that we are aiming for while vaping. The main reason why dry
burning occurs is because of the lack of coolant in your coil system as you
begin to heat up your coils. When your juice is added, you are adding both the
coolant and the solution that delivers your nicotine. When you add your liquid,
it also gets rid of any excess heat that remains and turning it into the vapor
steam that we see after each hit. This also applies to any organic material you
may choose to use in your priming process.
The Proper Priming Process
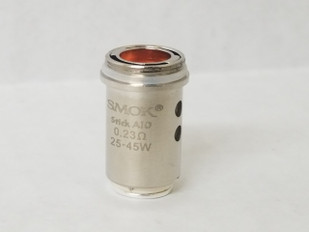
After purchasing a coil, keep in mind that there will be no liquid in the coil
or tank unless you
prefer to use the pre-filled tanks. If you don't use the prefilled tanks, then
you should know that your wick will be bone dry. The first step to priming is
to apply at least 4 drops of liquid to all the cotton you can see. This is
usually done on the sides and center of the coil housing. Take your time with
this step so that each drop will have plenty of time to soak in. Repeat this
until the cotton parts you can see appear all wet. If you aren’t in a hurry to
vape then waiting an extra 10 seconds after applying the drops will ensure that
your coil is saturated correctly. Make sure to avoid flooding your coil because
besides it creating a huge mess but it may make you think that you have a
leaking tank when it is fine. If you utilize disposable tanks, then go ahead
and fill it as you normally would and then allow it at least 5 minutes prior to
vaping.
To Summarize
Conducting proper priming will ensure that you are only inhaling clean vape.
This is accomplished when nothing is being burnt. Keeping your vaping sessions
clean and free of burnt smells is accomplished by following the priming instructions
set by the manufacturer and the guidelines for the power setting. This is
important to know because each coil has its own power range, so don’t exceed
the limits. Following these guidelines will also allow you to enjoy every
flavor you intend to vape with the same coils by lasting a long time. Make sure
that you only use your coils for as long as they are meant to last. The reason
why is to prevent any buildup of excess material which can potentially cause
burning on your coils. It goes without saying that your vaping experience will
be great if you follow the above. Now all you must do is be patient, keep calk
and prime on.


