- Home
- The Vape Mall Blog
- Coil Building Newbies
Coil Building Newbies
Posted by on
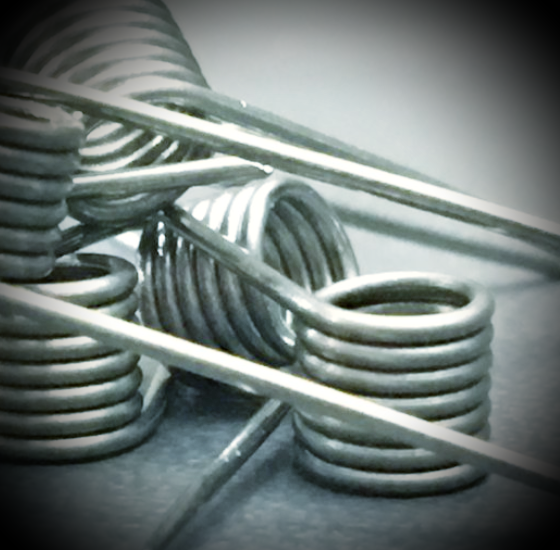
When you purchase your first Rebuildable Atomizer, you need to know the basics of building your first coil. Once you know the steps, putting them into practice should be easy enough.
Here is guide for newbies to building coils.
Step-by-Step Beginners Guide to Rebuilding a Coil
Step#1: Gather your coil building materials and tools. This includes a resistance wire, drill bit, screw driver, a butane or propane torch, cotton wool, forceps, wire cutters, iron and your e-liquid.
Step #2: Cutting enough wire to wrap your coil. Ensure that the size of wire cut is enough to work with. May be 6 to 8 inches.
Step #3: Wrapping your wire round the drill bit so they touch each other. Keeping your coils close to each other will ensure uniform distribution of heat when you fire your device.
Step #4: Remove your coil from the drill bit. It is important that you ensure your coils remain closely touching each other. To do so, you can use forceps or pliers, and then squeeze the coil to ensure they are touching. While doing this, be gentle and avoid applying too much pressure because it might cause over-wrapping of the coil.
Step #5: Install the coil. Here, you will insert the ends of your coil to your post holes. Then use a wire cutter to trim the excess tag ends of your coil.
Step #6: Tune the coil to heat uniformly. First, fire your mod and see how your coils heat. If they heat uniformly, press the coils together with a pliers when still hot.
Final Step: Prepare your wick by putting a thread of cotton wool through your wick and then tuck the ends into the coil.
After that final step, your device is ready to vape on. Just saturate your wick with your favorite e-liquid and you are good to go. With time you will become an expert and avoid the tiny mistakes in each step. At this point, building your own coils will not be work but rather just an exciting way to achieve a superior vaping experience.
 Loading... Please wait...


