 Loading... Please wait...


Recent Posts


- Home
- The Vape Mall Blog
- Step-by-Step Guide to Using the Vaporesso GTX GO 40 Kit
Step-by-Step Guide to Using the Vaporesso GTX GO 40 Kit
Posted by on
Vaporesso has never failed to find a whole new way to impress even the most experienced vapers out there, especially now with their heavily lauded GTX GO 40 Kit. This all-in-one vaping system combines the convenience of modern pod systems with the advanced nature of top-of-the-line technology – something that Vaporesso is quite well-known for, to say the least.
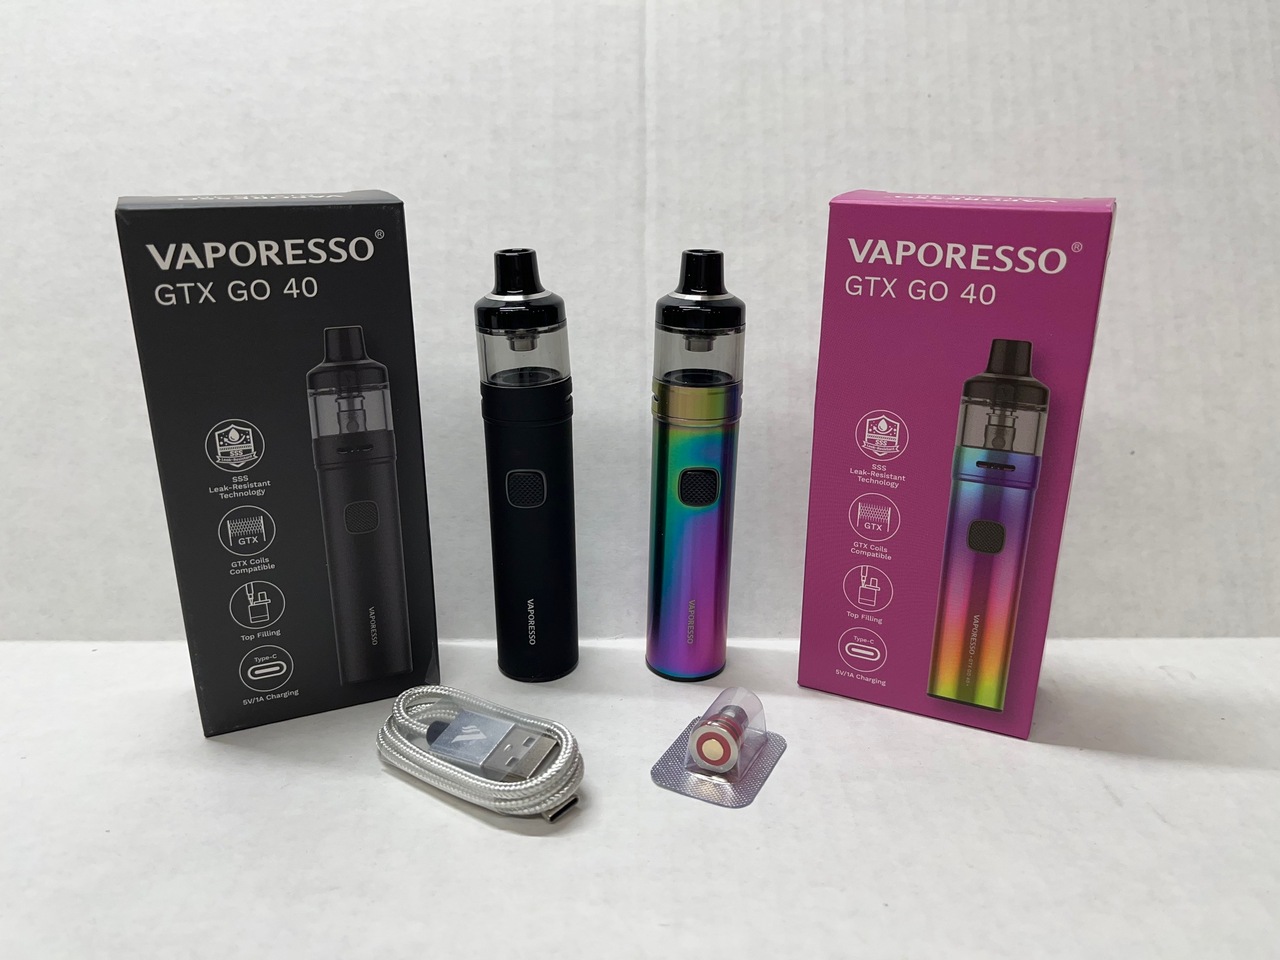
The GTX GO 40 uses a magnetic pod attachment to streamline the entire vaping process while promising exceptional travel-friendliness. A 1500mAh built-in battery provides you with stunning power for up to 40 watts, with a top-filling tank that can hold a generous amount of e-liquid to get you through your day.
If you’re ready to dive headfirst into this exciting new addition to the brand’s catalog, allow us to make your life easier with a simple step-by-step guide so that you can be enjoying its unique features in no time.
Step #1: Remove all of the components from the box. The first thing that you’ll need to do is charge your device, so do so by using the included type-C charging cable and plugging it into your device, along with a power source. The LED light on the device will turn green once it has reached a full charge.
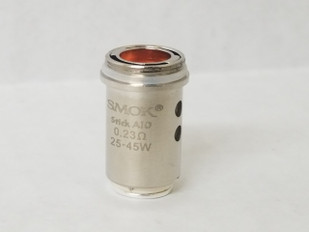
Step #2: While your GTX GO 40 device is charging, you can prepare your pod tank. It comes pre-installed with the GTX 0.6ohm Coil, which will need to be primed. Fill your tank with the desired vape juice and wait about 5 minutes for the liquid to saturate the coil. This tank fills through the top, and you’ll need to make sure that it’s fully closed before you attempt to vape.
Step #3: Now, you can attach the pod tank to the device. You may also wish to make adjustments to the airflow using the airflow dial on the bottom of the tank. The entire device is operated by a single button, and your user manual will tell you how to activate different features using the button. Of course, you’ll need to use it to turn your device on, but also to set your wattage level to up to 40 watts.
Final Step: With your device set at the ideal wattage level, you can now hold down the same button to fire a hit. If needed, you can make more adjustments to the airflow and output until you’re satisfied.
Overall, the Vaporesso GTX GO 40 Kit is conveniently user-friendly, but you still want to know how to get as much vaping enjoyment out of it as possible by following the proper steps to setting it up and using it for the first time. Now, all that you need to do is enjoy your vapes!


