 Loading... Please wait...


Recent Posts


- Home
- The Vape Mall Blog
- Quick and Simple Tips to Keep Your Vaping Work Area Both Clean and Organized
Quick and Simple Tips to Keep Your Vaping Work Area Both Clean and Organized
Posted by on
When you're working on your vape gear, you want to have a clean work area that is free from distractions or other problems that could make it difficult for you to get everything done. A dirty work area will make it easy for you to lose the screws to your vaper, drop coils in the mess, and completely ruin your vaper.
Follow these basic tips to keep your work area clean and free of mess.
Tip #1: Take A Look At Your Area Before Starting
Before you sit down to work on your vaper, take a look at your work area. Are there any spilled fluid stains from that batch of e-liquid you were creating that should be wiped up? Is there a half-finished project just sitting there, screaming for you to finish it?
Clean all that up before you start. Take any project you don't plan on working on just then and store it in a plastic container to keep it safe. Wipe up your area and disinfect it with cleaner to keep it free from infectants.
Tip #2: Have Storage Containers Handy
After cleaning up your work area, you need to sit down and get to work. You should always have small storage containers handy for these situations. Small plastic Tupperware tubs are perfect here because they are inexpensive, easy to store, and can be sealed. As you work, place items you don't need in these items.
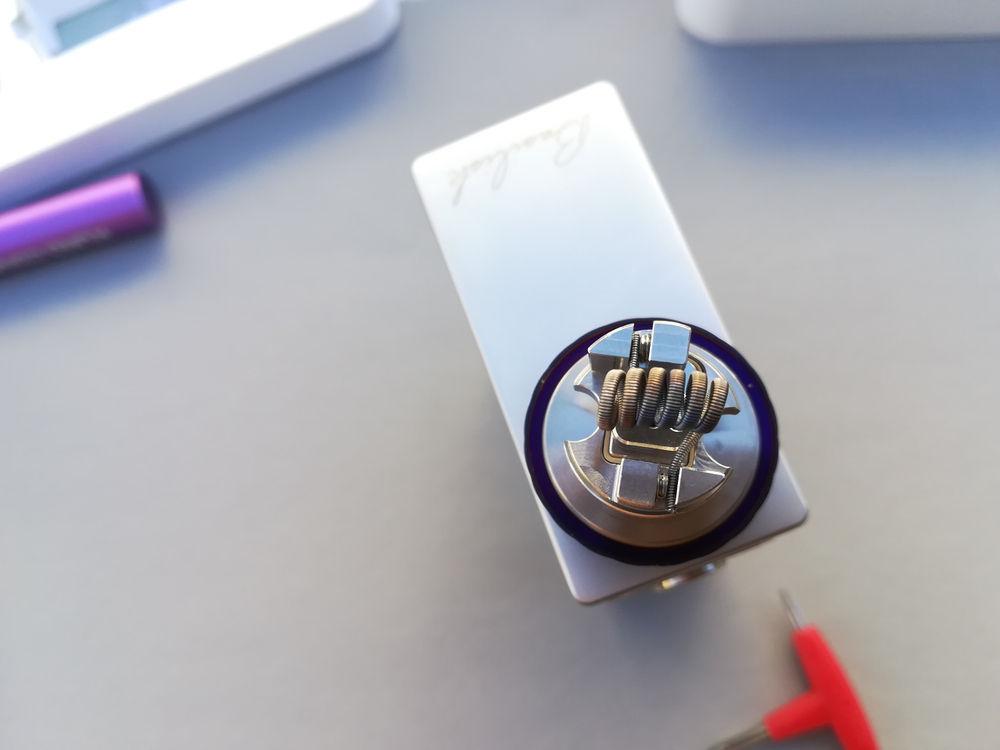
For example, if you are installing new coils in your tank, you could place your screws in the tub, as well as used coils or other items. You can also work over a small tub when opening up your tank, in case any spills occur. This keeps the e-liquid from staining your work area.
Tip #3: Know What You're Doing Before Working
Always have a basic idea of what you're doing in your work area when you sit down to work. In this way, you can avoid just messing around with your coils and tanks without a purpose. Absent minded fiddling may result in some cool upgrades, but it can also result in losing interest halfway through and leaving a mess in your work area.
That doesn't mean you shouldn't have some fun experimenting, though! DIY vaper adjustments are all about finding cool ways to make your vaper awesome. It's just a good idea to know what you're doing at the beginning and venturing off into a few experimental areas, time and talent allowing.
Tip #4: Streamline The Process Logically
You should also streamline your work process in a way that makes sense and is logical to your goals. For example, if you're removing some coils from your tank to install new ones, you should have small tubs for the screws, another for the old coils, one where you can place the open tank, and another for the new coils.
You are creating a sort of “assembly line” process here that streamlines your experimentation and makes it harder for you to make a mess. Prevention of messes is the best way to keep your area clean, and the easiest way to do that, is by making the process as streamlined as possible.
Vaping Cleanliness and Proper Organization are Keys to a Successful Experience
As you can see, it is possible to not only keep your work area clean, but to do so in a way that actually improves your work quality. Cleanliness and precision are crucial to working on your vaping equipment properly. The cleaner you keep your work area, the better your adjustments will be.


